Creating a Content Template
A content template is like a metadata for your content. It allows you to define the structure of your content and the various content types. A content template needs to be created first before you can start creating your content. Once a template is created, you can reuse the same template to create other contents.
Content template will contain fields. A field will mainly have a field name and the content type. We support the following content types:
| Type | Description |
|---|---|
| Single line text | Single line text that can be used for contents like Names, Titles, etc. |
| HTML | To create contents that are rich text or HTML. |
| Plain text | Multiline text that can be used for contents like XML or any other raw text. |
| Date & Time | To represent date and time. |
| Boolean | To represent a true or false value, yes or no value, or on or off (1 or 0) value. |
| File | To add images, documents or videos to your content. |
| Color | Accepts a HEX color. |
| Number | Supports decimal, integer or even values within a specified range. |
| Single option selector | Allows you to choose an option from a list of options. |
| Multiple choice | Allows you to multiple options. |
| Phone number | Supports international phone numbers. |
| Linked content | Allows you to link multiple contents. |
| JSON | Supports JSON data. |
| Tags | Allows you to classify content by tags. |
| ID | Unique identifier or serial numbers. |
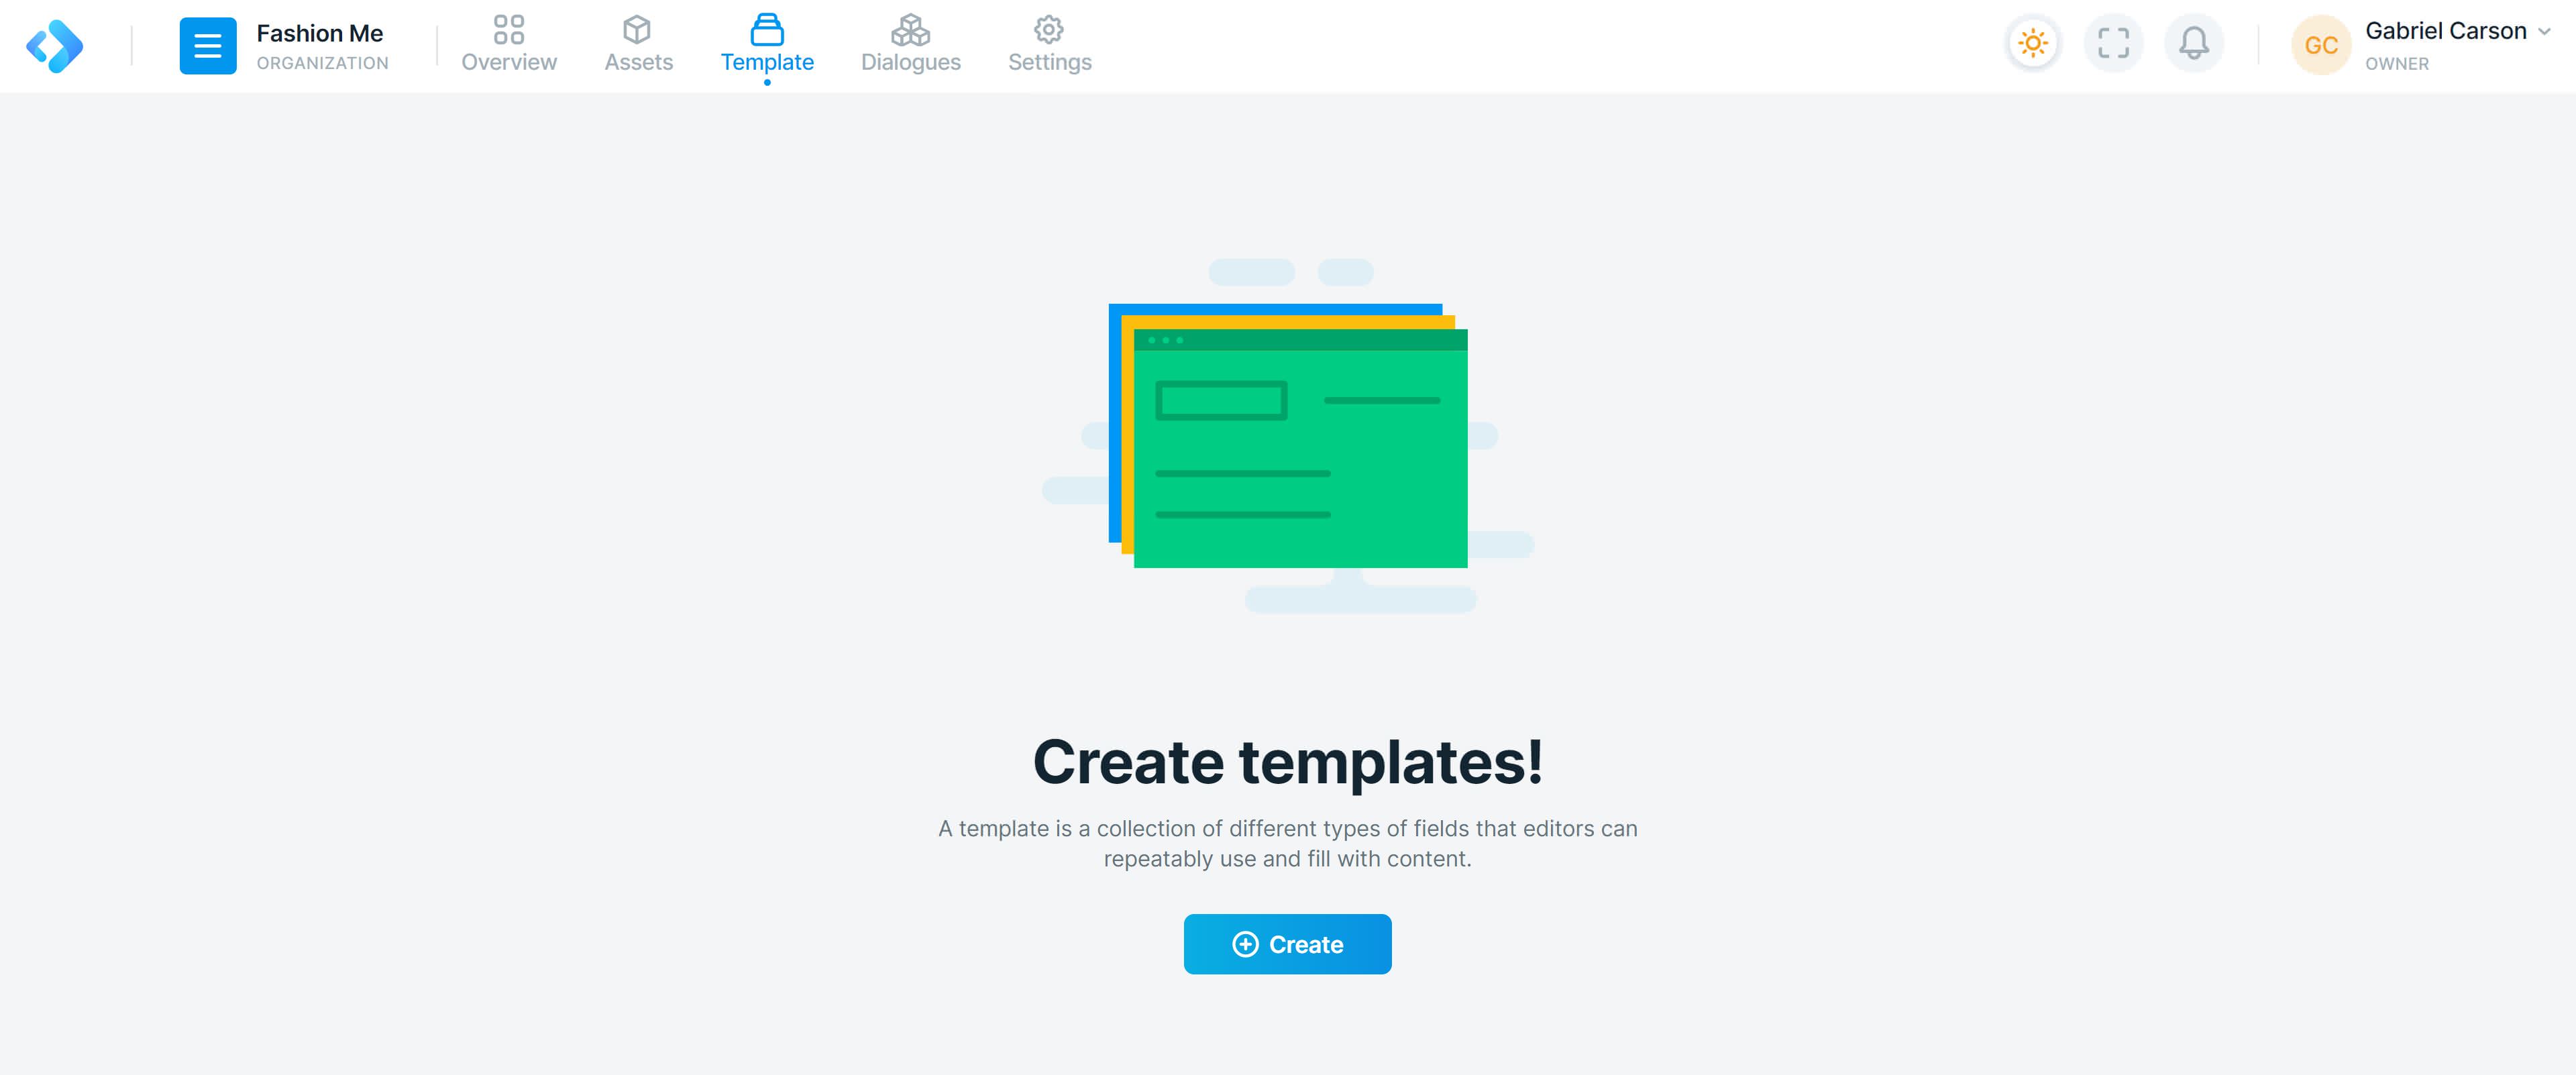
Once you have created a project, select Template from the header menu and you should now see a screen like below.

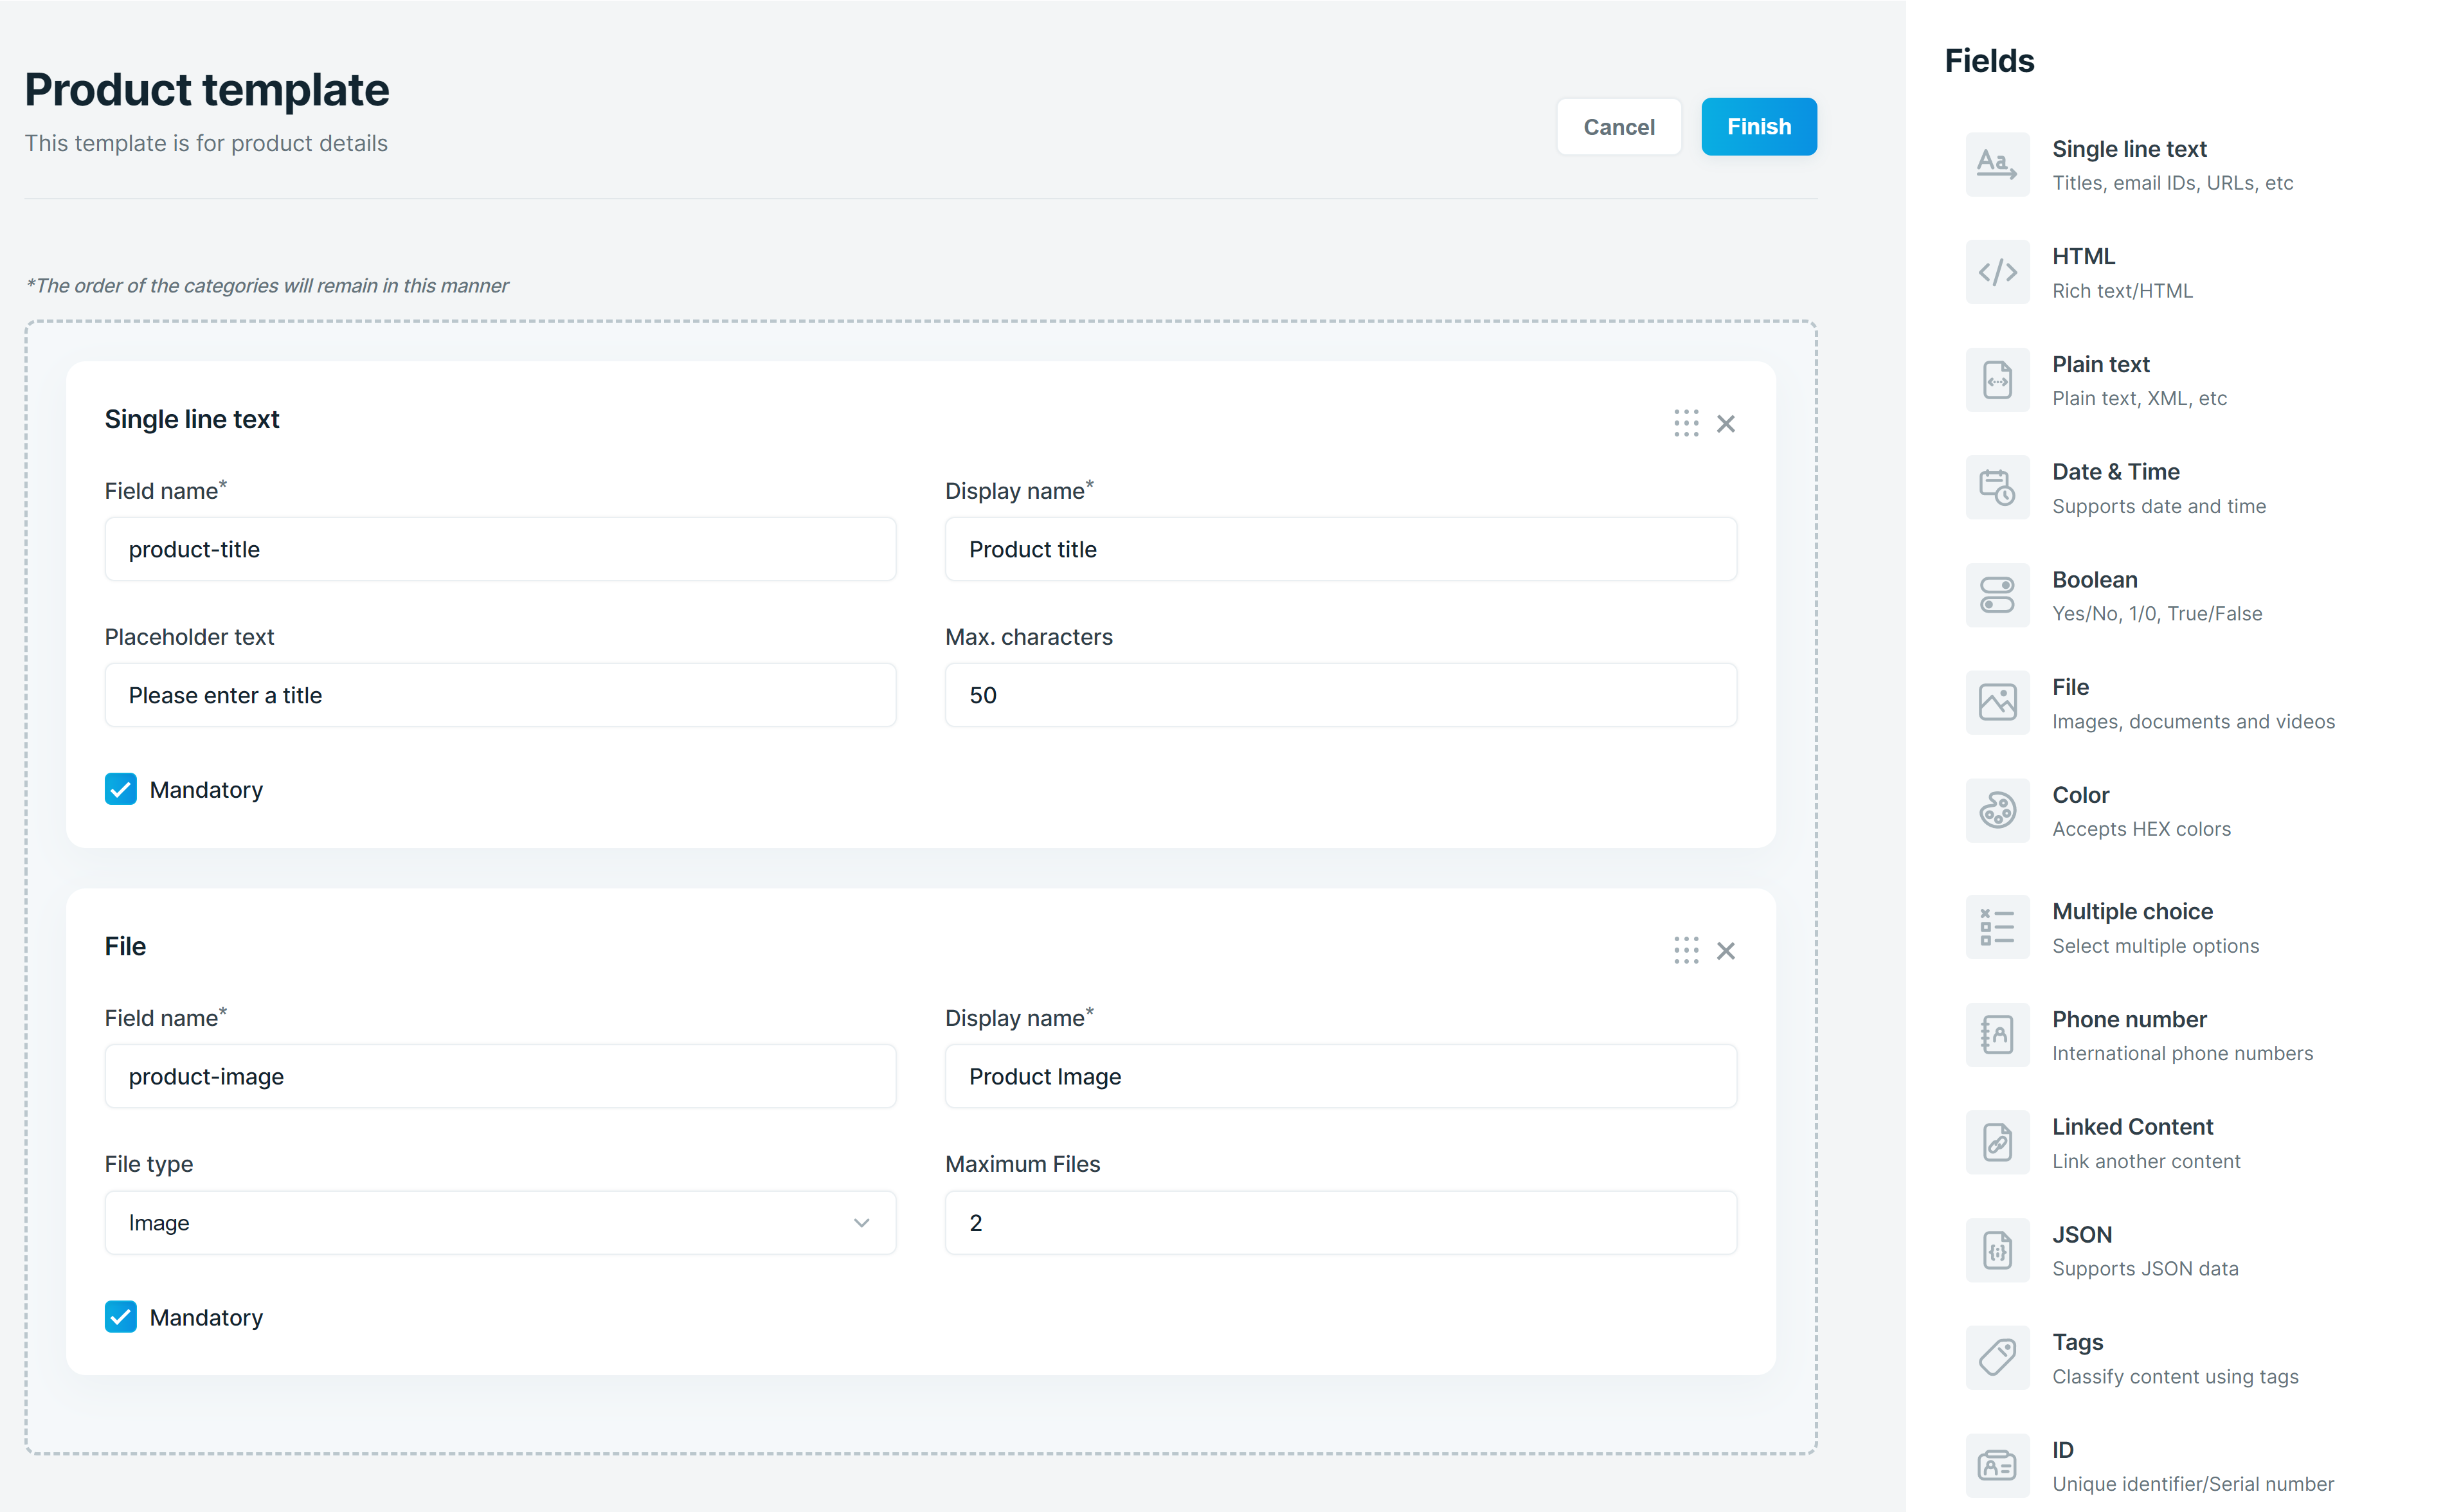
Click the Create button and it should take you to the template creation page. Here, you can drag and drop the required fields from the right and then give a template name and description and click Finish. Your template is now ready.
Below is a sample template.
